| |

 The GNU Image Manipulation Program is an excellent free and open source graphics program that will do almost anything you want to a bitmap image. The GNU Image Manipulation Program is an excellent free and open source graphics program that will do almost anything you want to a bitmap image.
 Almost. When text is needed in an image, GIMP is indeed gimpy. Rather than use fonts installed in the computer’s operating system, it has its own, very limited set of fonts, and no way to exactly position your text. Almost. When text is needed in an image, GIMP is indeed gimpy. Rather than use fonts installed in the computer’s operating system, it has its own, very limited set of fonts, and no way to exactly position your text.
 The workaround is easy: don’t use GIMP for text. The workaround is easy: don’t use GIMP for text.
 Today’s word processors can all write PDF files, both closed source commercial word processors and open source tools. My favorite is Open Office Write. GIMP can import them as images, and it does an excellent job of it. Today’s word processors can all write PDF files, both closed source commercial word processors and open source tools. My favorite is Open Office Write. GIMP can import them as images, and it does an excellent job of it.
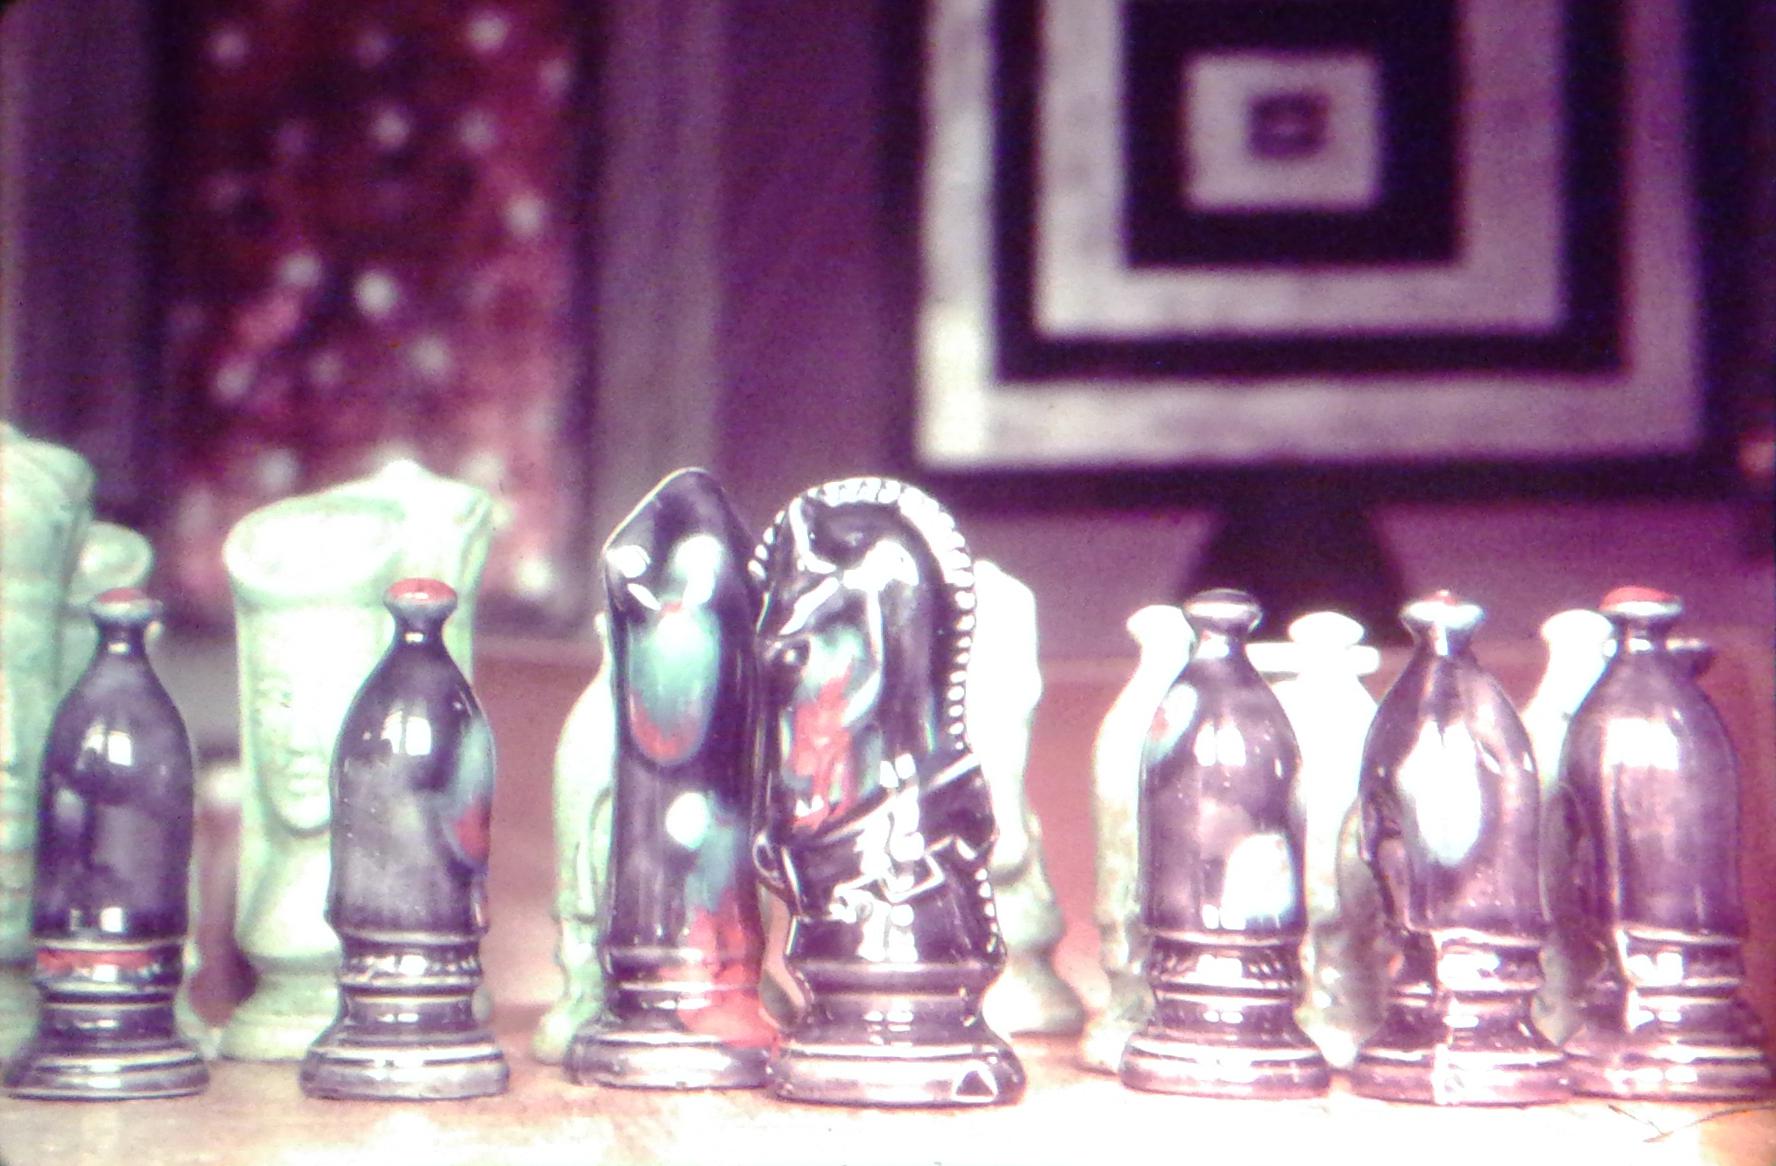
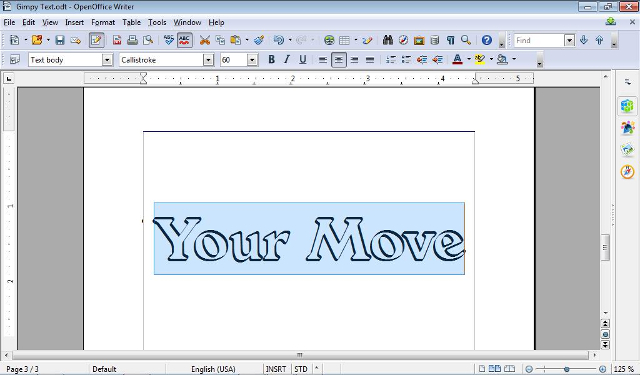
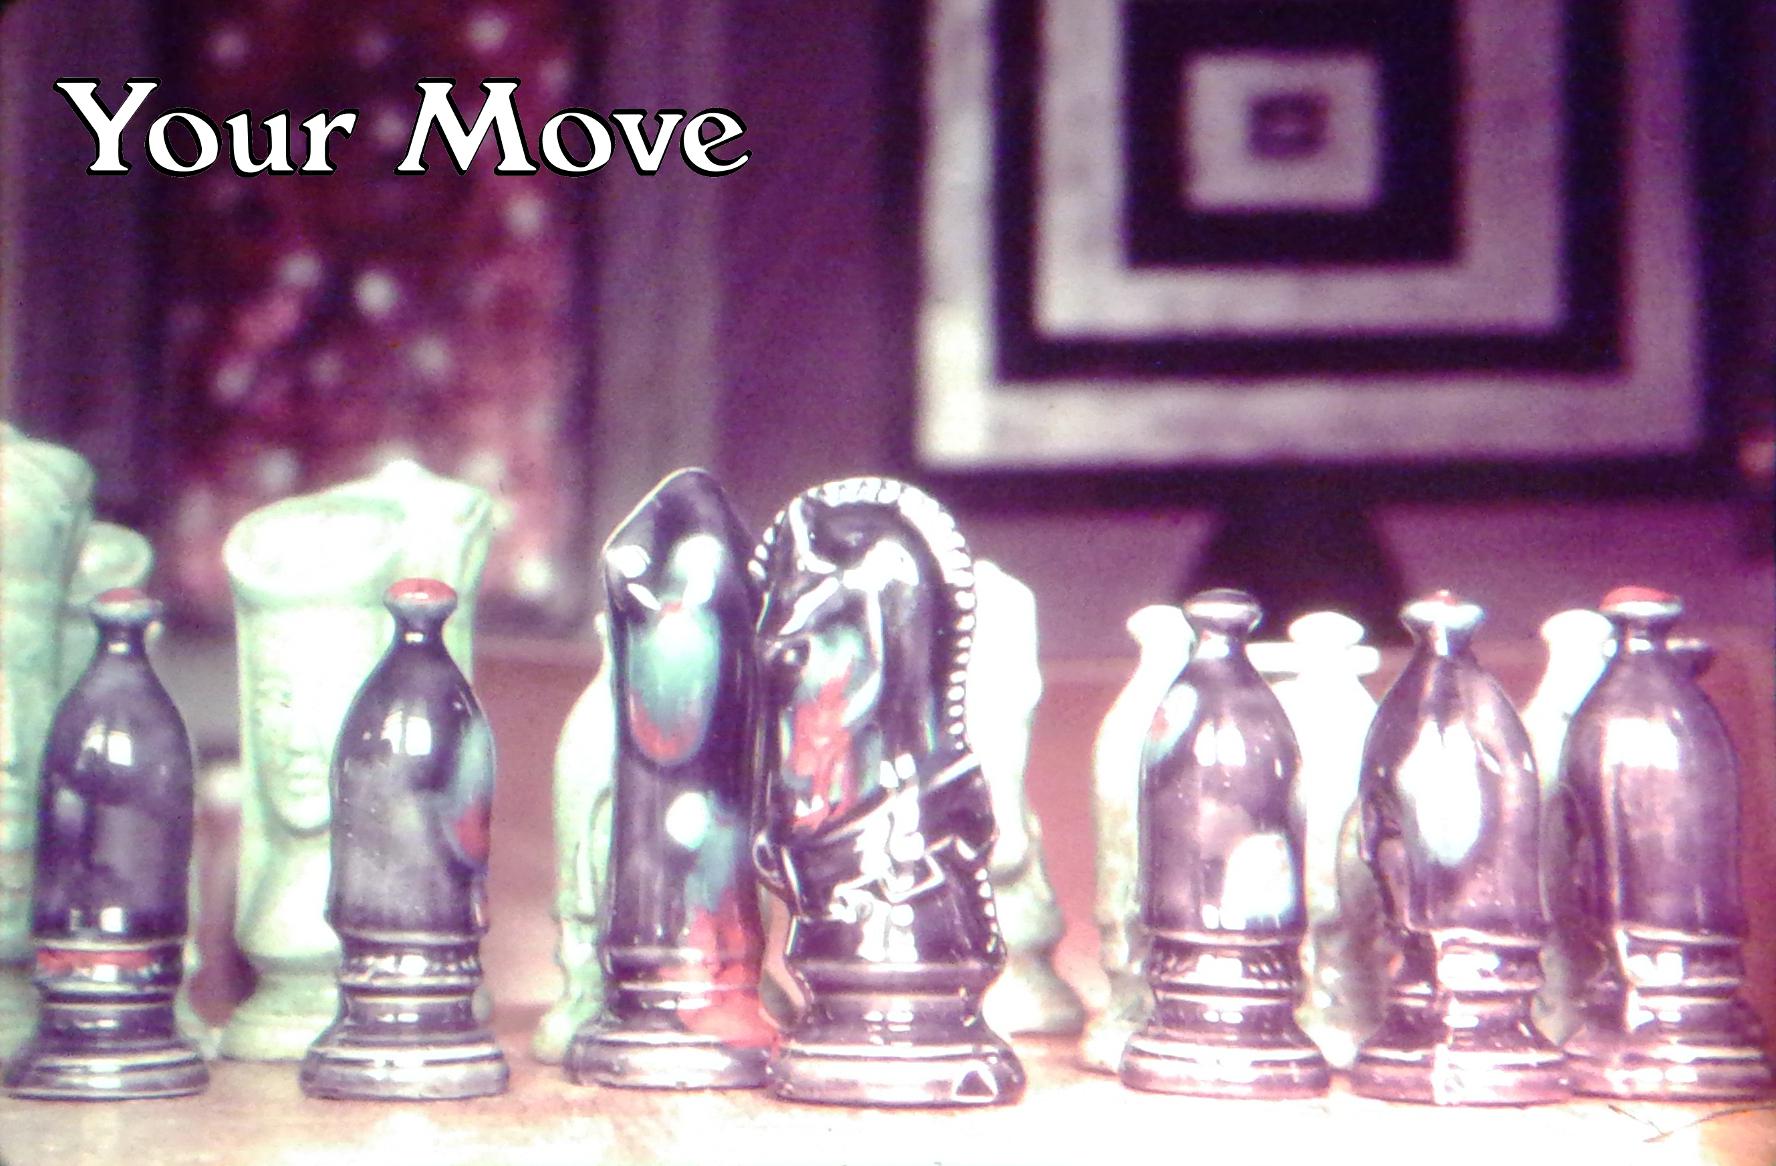
 Say you wanted to use the above image (a 35 mm slide I took in 1974 and digitized with a cheap plastic slide viewer, a phone, a rubber band, and adhesive tape) and add “your move” in the upper left hand corner of the image. First, open your word processor and choose the font you want. Any font installed on your computer will work, and there are literally thousands of fonts you can download from the internet and install in a few seconds. One I’ve downloaded is Callistroke. We’ll use that one for the example, and I’ll explain why shortly. Say you wanted to use the above image (a 35 mm slide I took in 1974 and digitized with a cheap plastic slide viewer, a phone, a rubber band, and adhesive tape) and add “your move” in the upper left hand corner of the image. First, open your word processor and choose the font you want. Any font installed on your computer will work, and there are literally thousands of fonts you can download from the internet and install in a few seconds. One I’ve downloaded is Callistroke. We’ll use that one for the example, and I’ll explain why shortly.
 Once the font is chosen, type in the text and highlight it, center it, and make the font size large enough that it stretches from border to border. Once the font is chosen, type in the text and highlight it, center it, and make the font size large enough that it stretches from border to border.
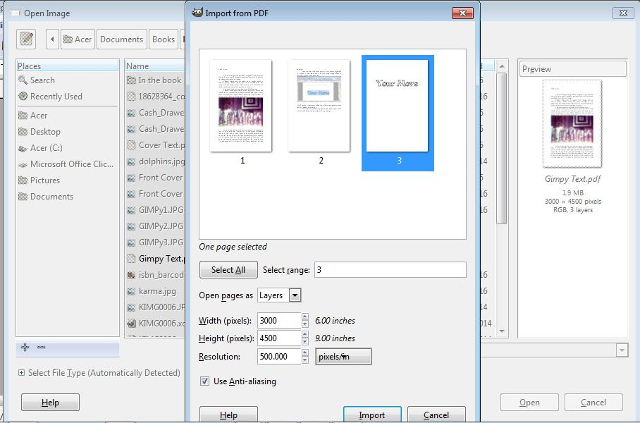
 Next, export it as PDF and open GIMP. Once GIMP’s stuff has all loaded, you can open the PDF as an image. I simply put it on the last page of this document rather than making a new document. Before you tell GIMP to import it, raise the resolution to 600 DPI or higher to prevent pixelation. You can make it smaller later. Next, export it as PDF and open GIMP. Once GIMP’s stuff has all loaded, you can open the PDF as an image. I simply put it on the last page of this document rather than making a new document. Before you tell GIMP to import it, raise the resolution to 600 DPI or higher to prevent pixelation. You can make it smaller later.
 When it opens, select Tools --> Selection Tools --> Rectangle Select, and outline your text. When it opens, select Tools --> Selection Tools --> Rectangle Select, and outline your text.
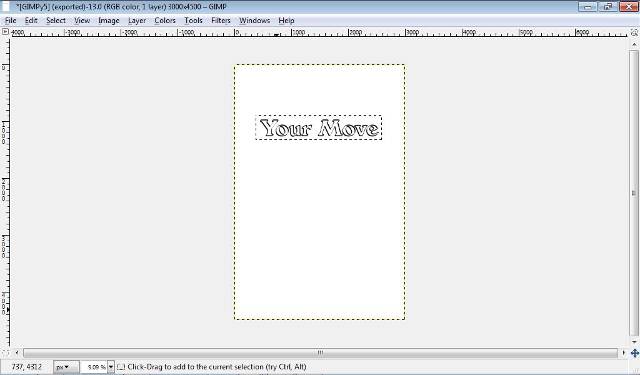
 Now select Image --> Crop to Selection. Now select Image --> Crop to Selection.
 The reason I like the outline fonts in most illustrations and graphics is that I can have white letters outlined in black, which will show up clearly in any image. If your text is going to be in a landscape with a blue sky, a non-outline font in a contrasting color is as good or better. Don’t use red letters on a green background as it will be invisible to some people. The reason I like the outline fonts in most illustrations and graphics is that I can have white letters outlined in black, which will show up clearly in any image. If your text is going to be in a landscape with a blue sky, a non-outline font in a contrasting color is as good or better. Don’t use red letters on a green background as it will be invisible to some people.
 There are a couple of steps to get there. First, select Tools --> Color Picker. Place your cursor over the white and click. Then choose Tools --> Selection Tools --> Select By Color. Now click anywhere white and press “Del” and everything white will be transparent. There are a couple of steps to get there. First, select Tools --> Color Picker. Place your cursor over the white and click. Then choose Tools --> Selection Tools --> Select By Color. Now click anywhere white and press “Del” and everything white will be transparent.
 Now, select Select --> None. Now, select Select --> None.
 Transparent parts will show up as a two shades of gray checkerboard. as in the illustration below. Transparent parts will show up as a two shades of gray checkerboard. as in the illustration below.
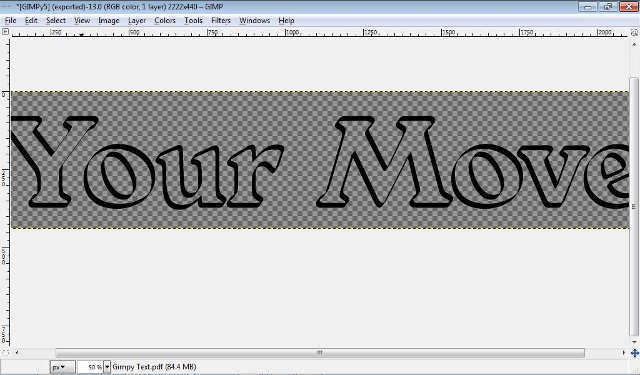
 Now choose Tools --> Paint Tools --> Bucket Fill to fill in the white part of your text. Now choose Tools --> Paint Tools --> Bucket Fill to fill in the white part of your text.
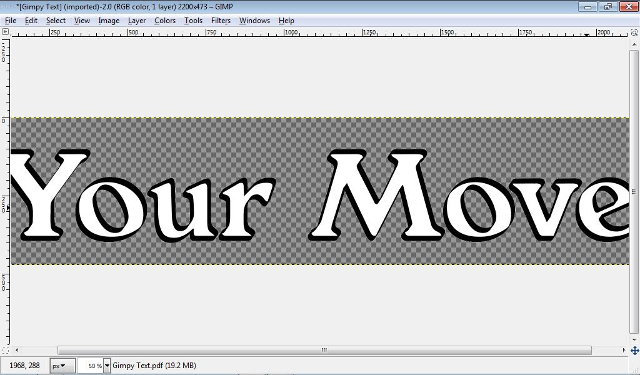
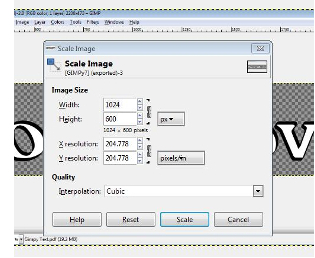
 Now open the image you want to put the text in. There will be a ruler at the top of the screen showing how many pixels in a given area. In our image, where we want the text is about 750 pixels wide. In the text image, select Image --> Scale Image. The following dialog opens: Now open the image you want to put the text in. There will be a ruler at the top of the screen showing how many pixels in a given area. In our image, where we want the text is about 750 pixels wide. In the text image, select Image --> Scale Image. The following dialog opens:
 Place the cursor in the “Width” field, then type in the number. We’re changing 1024 to 750. Now press “Tab” once and the “Height” field will change. Now just click “scale”. Place the cursor in the “Width” field, then type in the number. We’re changing 1024 to 750. Now press “Tab” once and the “Height” field will change. Now just click “scale”.
 When it finishes scaling, press Ctrl+A to select the whole image, than Ctrl+C to copy it. Tab to the image you’re adding text to, make sure the “Rectangle Select” tool is chosen (see earlier in this article) and press Ctrl+V to paste the text in. When it finishes scaling, press Ctrl+A to select the whole image, than Ctrl+C to copy it. Tab to the image you’re adding text to, make sure the “Rectangle Select” tool is chosen (see earlier in this article) and press Ctrl+V to paste the text in.
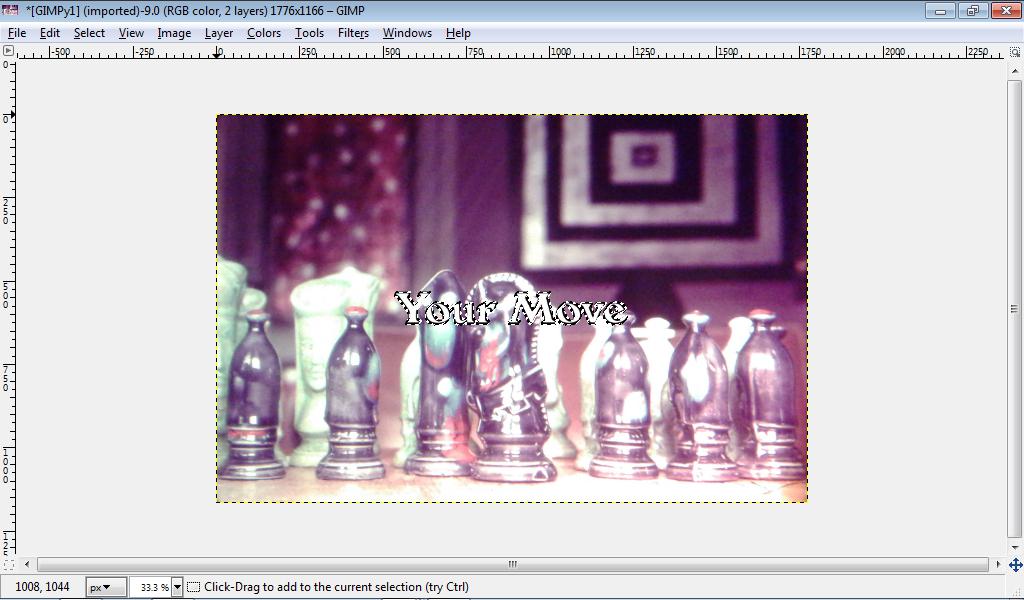
 Now put the cursor on a letter and hold the primary mouse button and move the text where you want it. Now put the cursor on a letter and hold the primary mouse button and move the text where you want it.
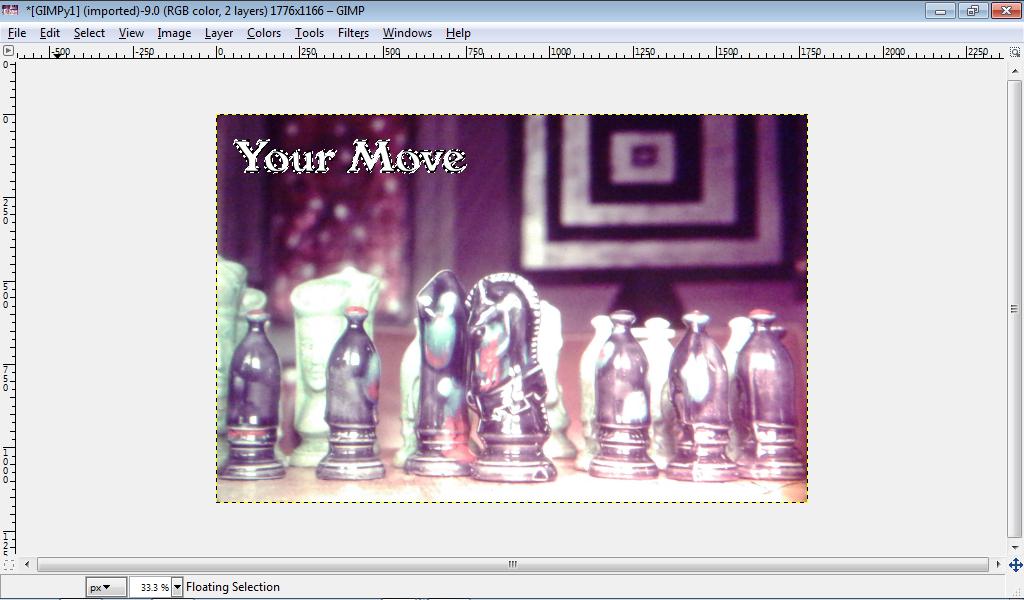
 Now merge the two images by pressing Ctrl+M then Enter. Here is the final image: Now merge the two images by pressing Ctrl+M then Enter. Here is the final image:
 You can add all sorts of fancy things to your text with different images. You can add all sorts of fancy things to your text with different images.
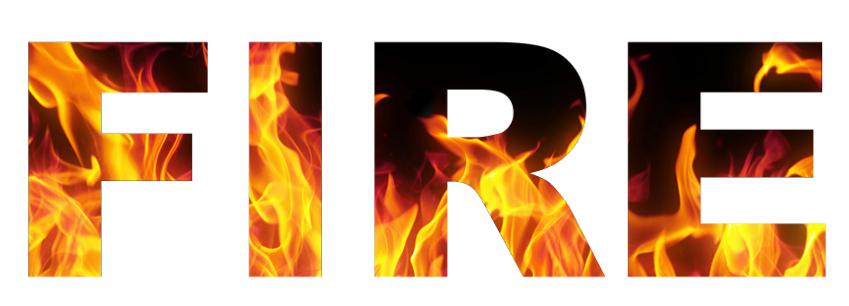
 To make the above image, I got a picture of fire from Google, Wrote the word “FIRE” in open office, exported as PDF, selected black (lettering), deleted, and pasted it over the fire. To make the above image, I got a picture of fire from Google, Wrote the word “FIRE” in open office, exported as PDF, selected black (lettering), deleted, and pasted it over the fire.
 So finally, GIMP has everything I need. Well, maybe except the ability to make moving PNGs and vector graphics. So finally, GIMP has everything I need. Well, maybe except the ability to make moving PNGs and vector graphics.
| |


![]()